

Due to modern cystoscopy, cystograms are now only usually performed postoperatively or in cases of trauma.
The clinical history in these patients is essential e.g. nephroureterectomy, partial cystectomy, accidental bladder wall damage during pelvic surgery, anastomosis of urethra-bladder during prostatectomy, excision of a colo-vesical fistula and so forth.
There are also a proportion of trauma patients requiring the investigation, having suffered bladder damage as a result of a pelvic fracture. Surgical management differs depending on whether there is intra or extra peritoneal perforation.
Indications
It is important that you understand the correct indication for the cystogram as they all leak in different places.
leak following nephroureterectomy (at resected VUJ)
leak following prostatectomy (at cystourethral anastomosis ie inferior to bladder)
craniocaudal tilt is needed to lift bladder base from behind pubic symphysis.
leak following cystectomy and neo bladder formation (leak at several sites, ureteroileal, ileo-neobladder, neobladder-urethral)
leak following fistula repair (at fistula site)
leak following partial cystectomy/ clam cystoplasty/boari flap
leak following iatrogenic damage (at injury site)
leak following trauma (intraperitoneal or extraperitoneal)
Imaging a native bladder is different from imaging a bladder substitute
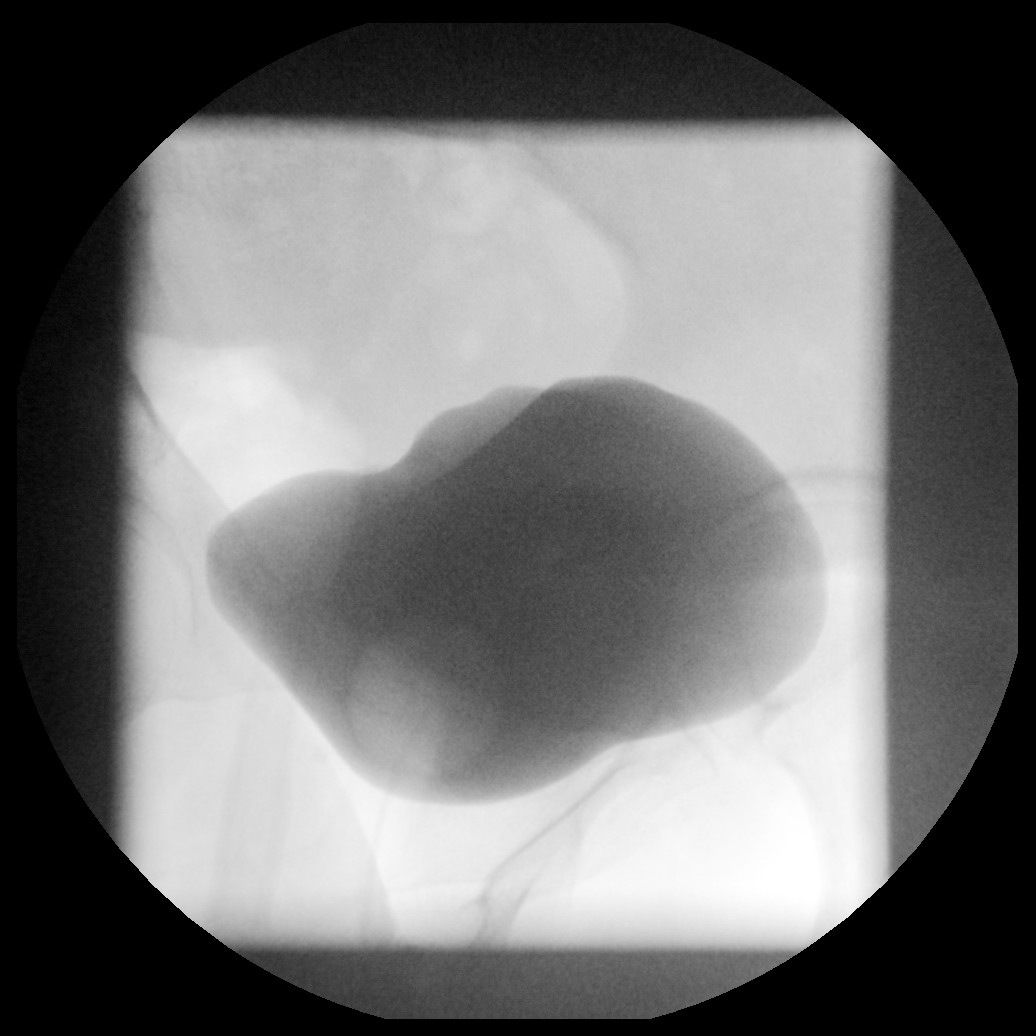
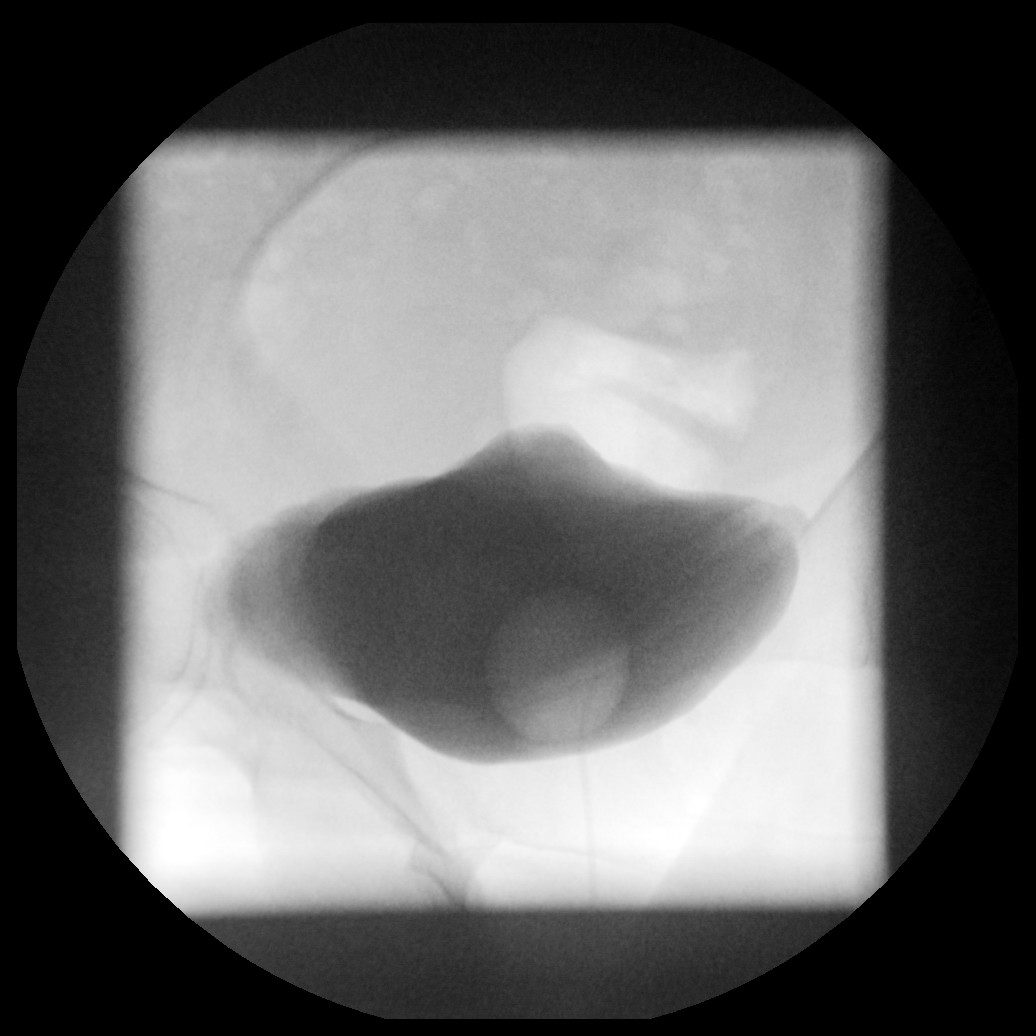
For all examinations you must answer the following questions before performing the procedure:
What is the clinical question to be answered?
What study will you perform?
How do you perform this study and what equipment is required?
Who will supervise or review your images when you need assistance?
Equipment
Sterile pack, chlorhexadine, sterile drape, 50ml bladder syringe, contrast (Urograffin)
Procedure
Imaging the native bladder
This is a sterile procedure.
Clean and prep the catheter.
The contrast medium required for this examination is UROGRAFFIN which is instilled through a urinary catheter (the patients should already have the catheter in situ when they attend) NB some patients have both a urethral and suprapubic catheter in situ. Make sure you know which to use and clamp the other or contrast will simply drain and not fill the bladder.
Patient supine on the table with II AP. Take a control film
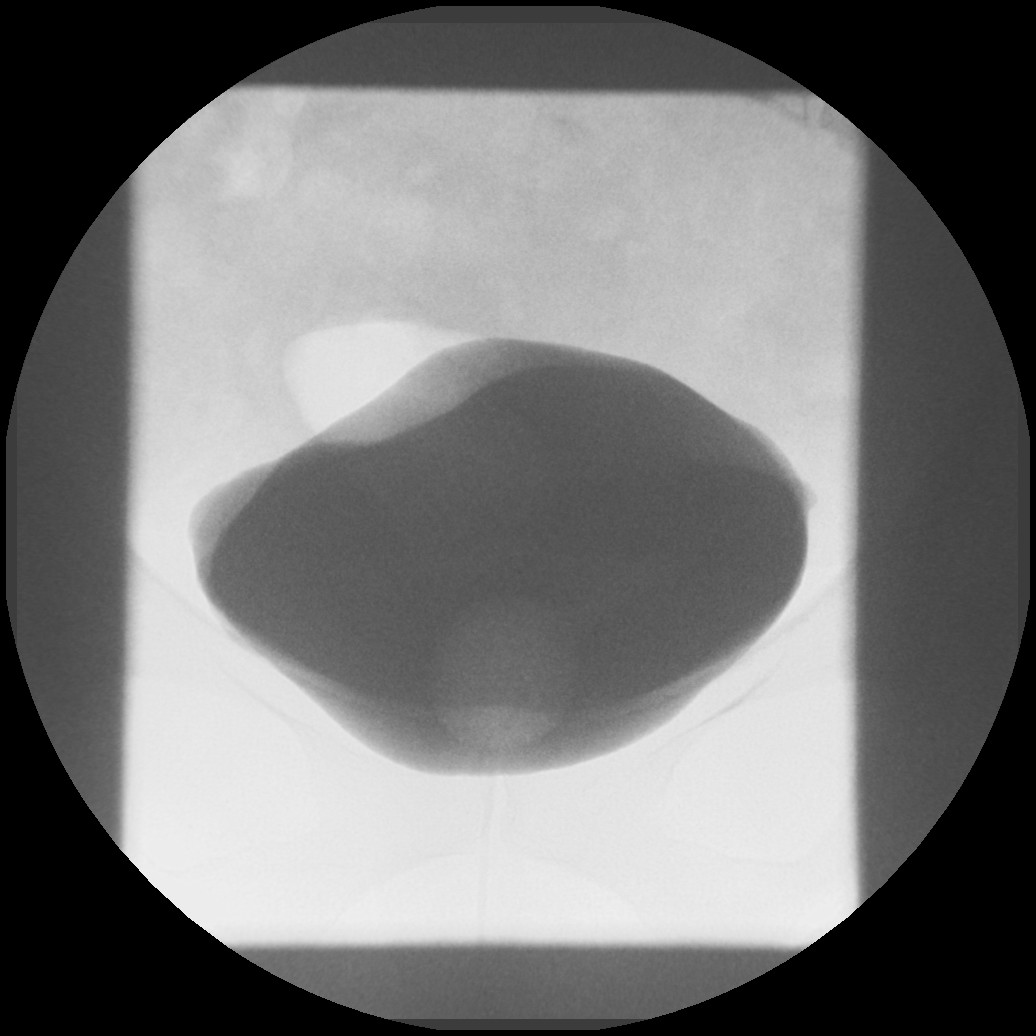
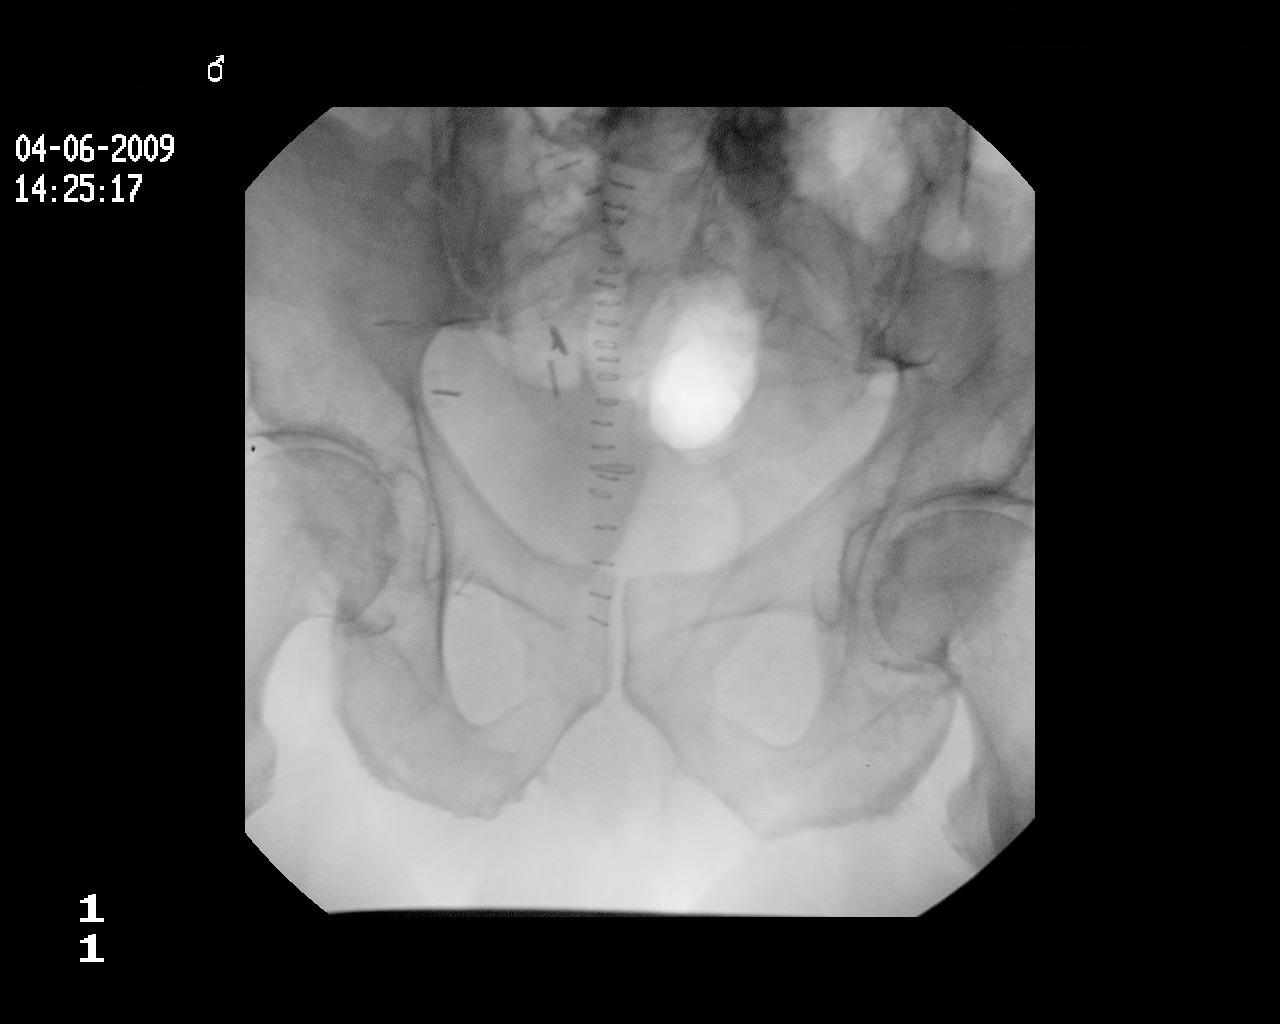
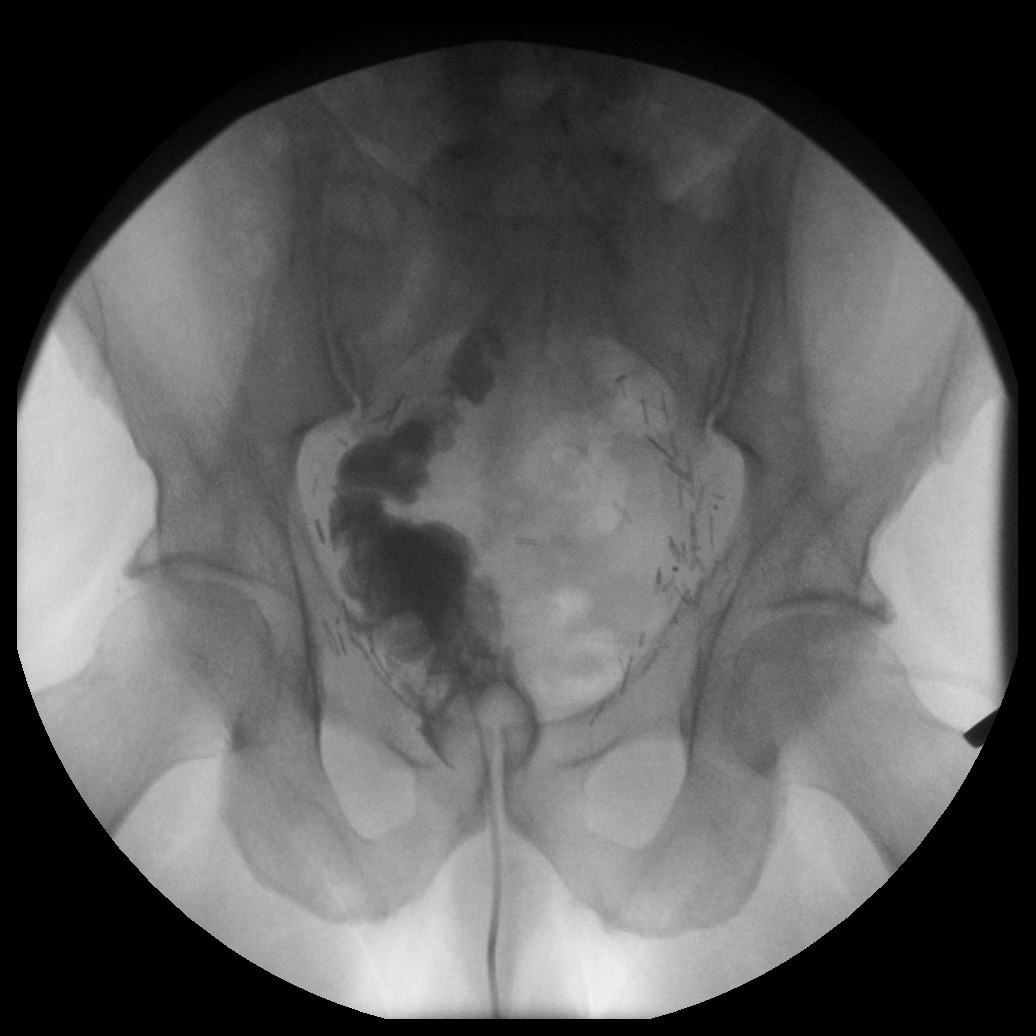
AP control film centred and magnified on the pelvis. Note surgical staples.
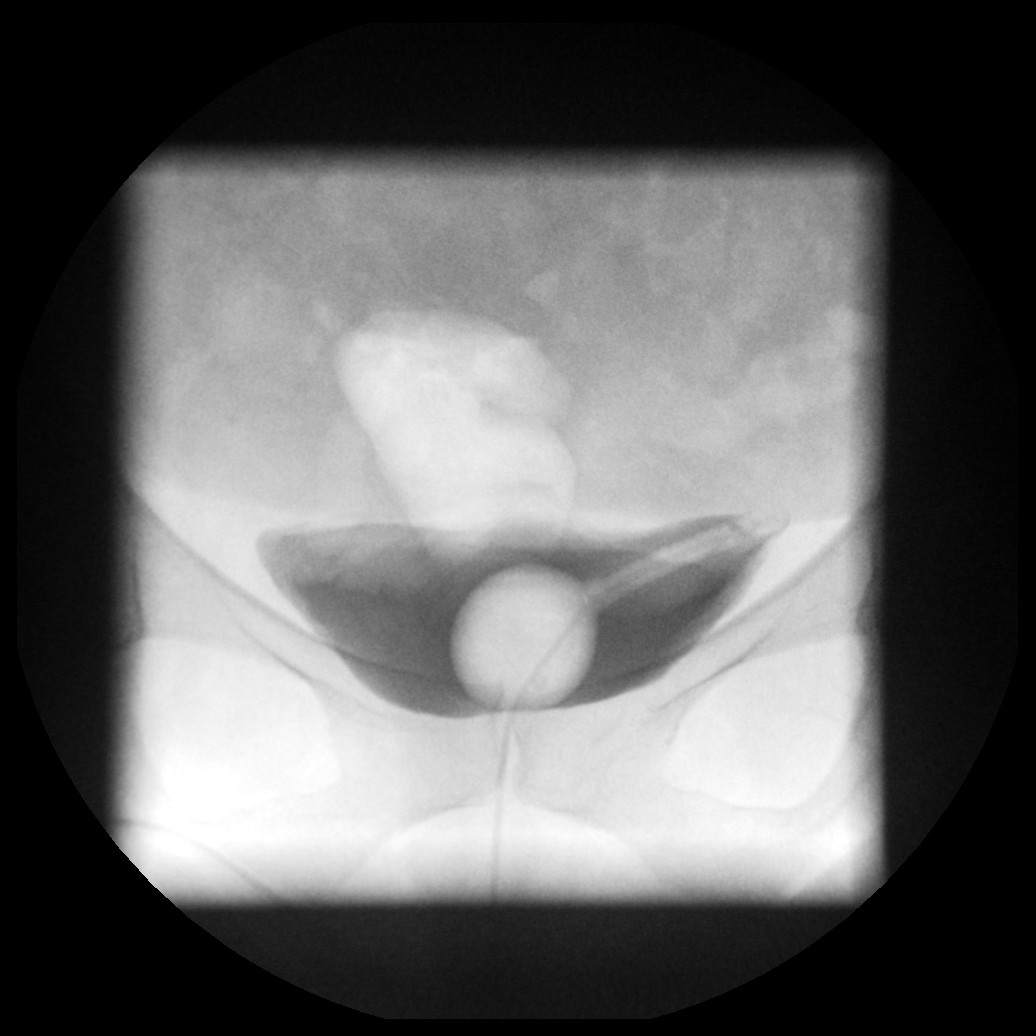
Ensure the catheter is in the correct position
Attach a 50ml bladder syringe filled with Urograffin to the catheter end
Now start instilling the contrast medium and screen as the bladder starts to fill
Use fluoroscopic screening as you inflate bladder and take exposures as below:
In certain circumstances a fluoroscopy frame grab image can be helpful to demonstrate dynamic ureteric reflux etc
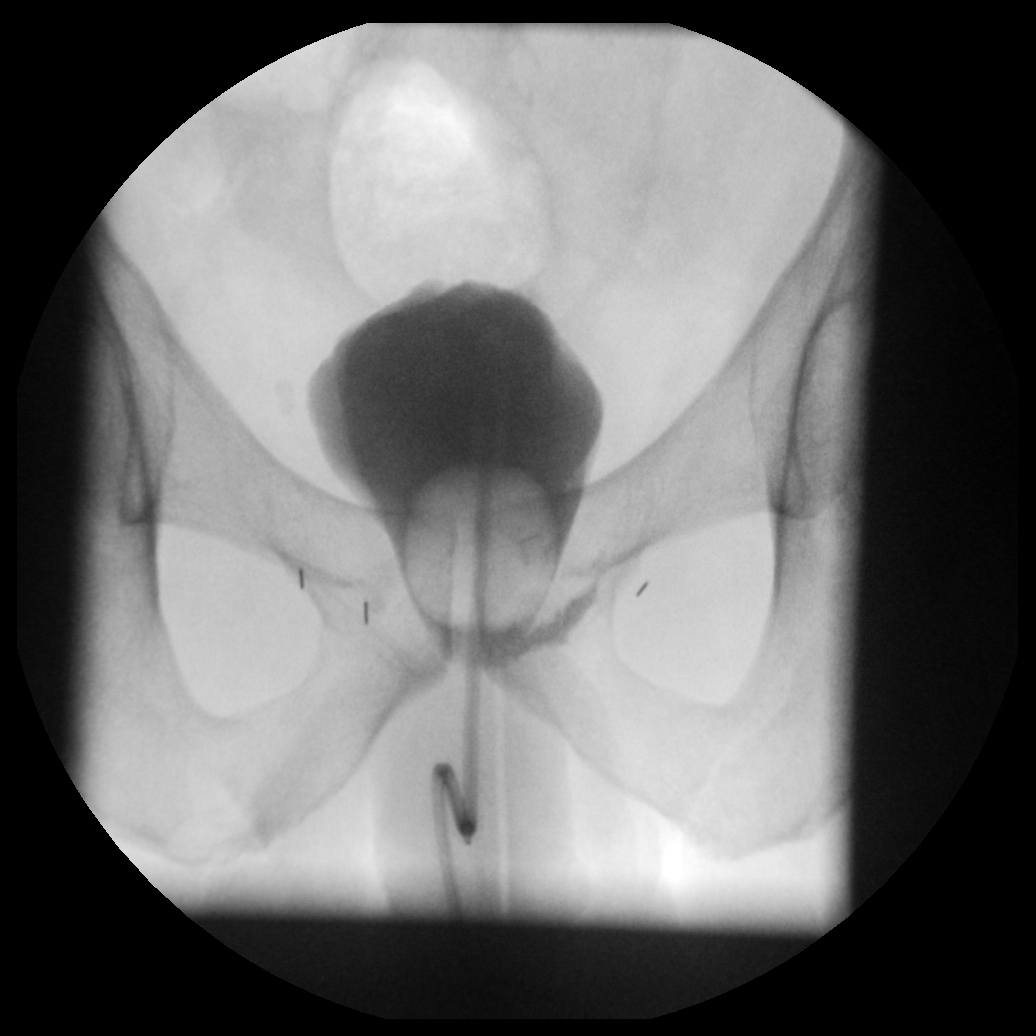
AP early bladder filling. Note the urethral catheter seen within the bladder
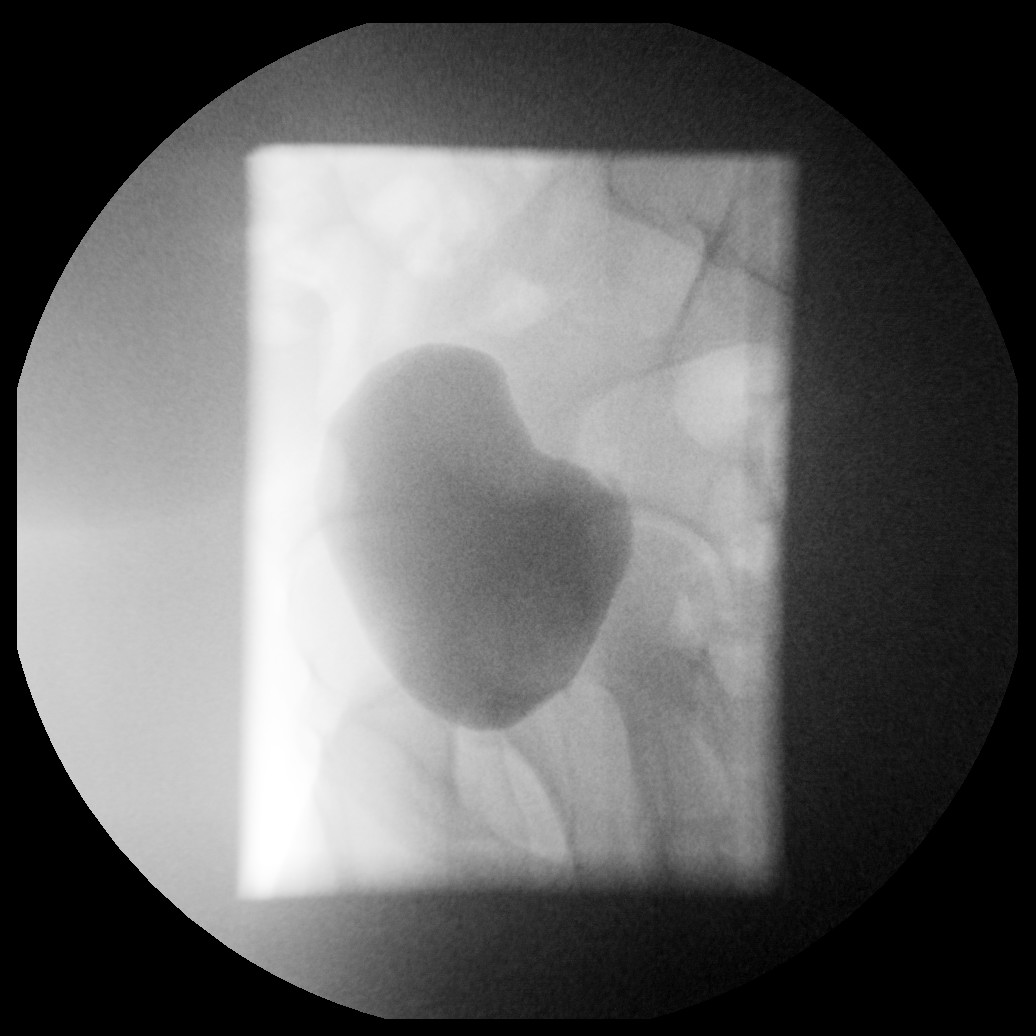
AP bladder full. Normal bladder outline.
RAO for R VUJ and lower ureter
LAO for L VUJ and lower ureter
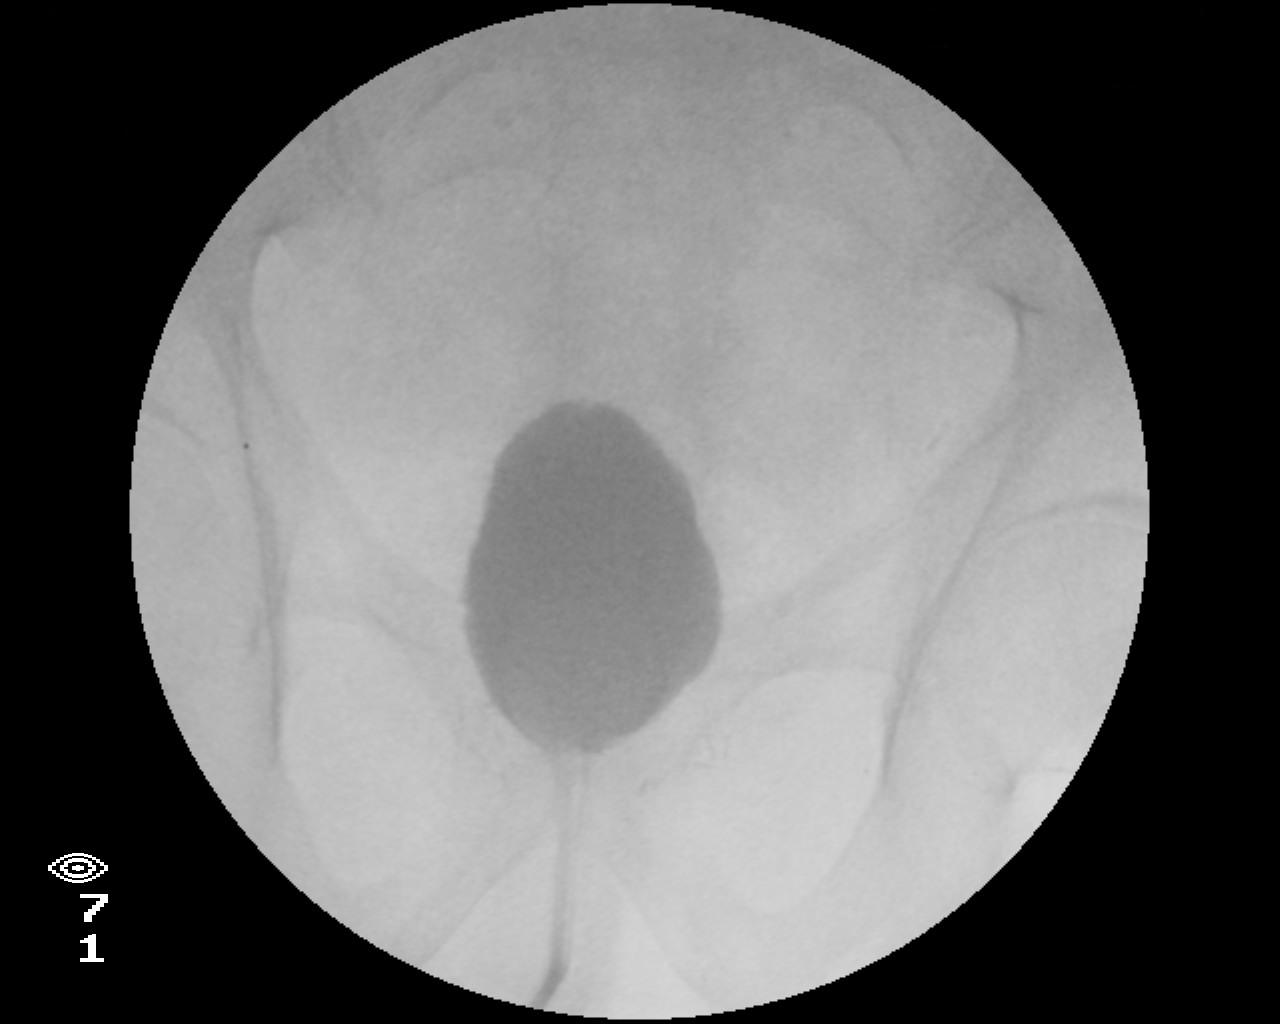
A lateral film is indicated in certain situations where the injury is on the anterior or posterior wall. Careful assessment of the request and previous imaging is therefore vital. A true posterior or anterior leak may be missed even using obliques if they are not oblique enough. Take care with centering and conning to get good contrast resolution and avoid glare. A lateral filter should be moved in to prevent glare. Often you are only interested in the posterior wall so image this part and avoid the anterior glare.
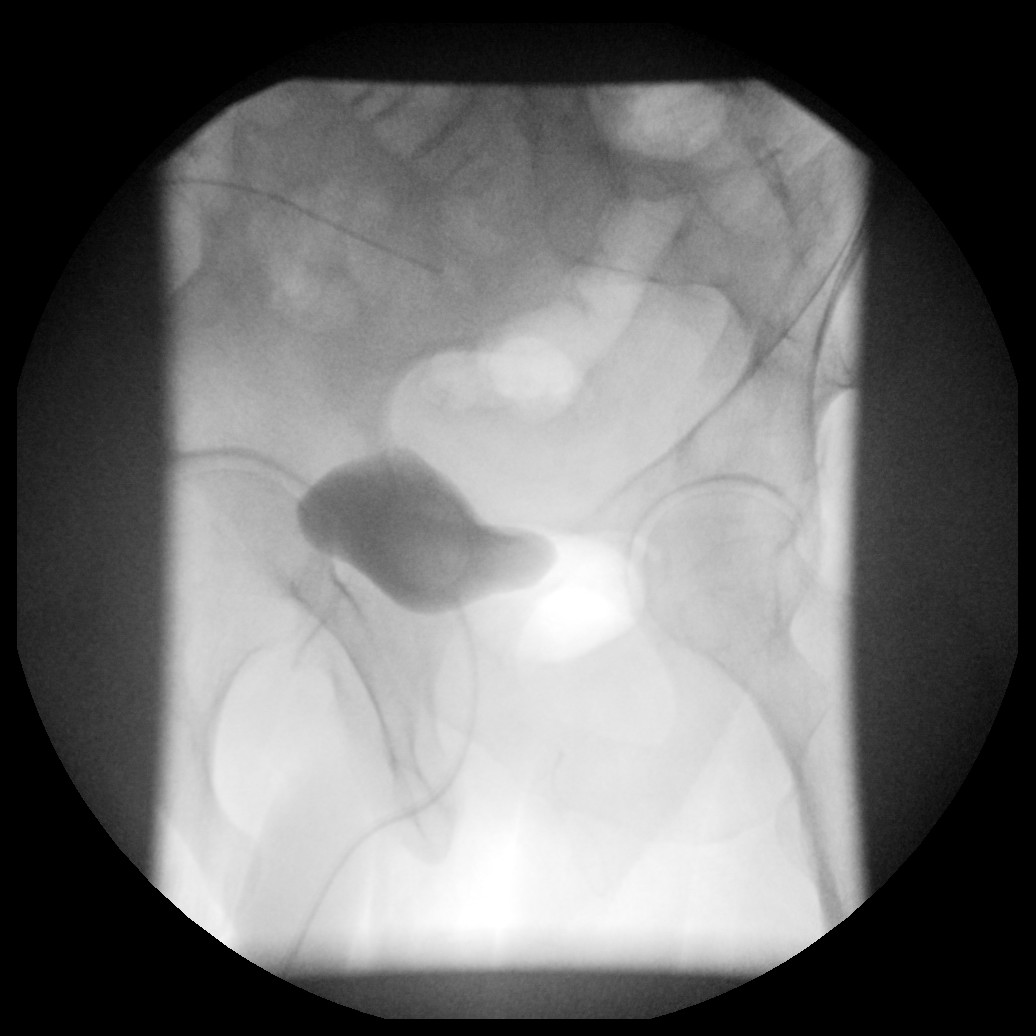
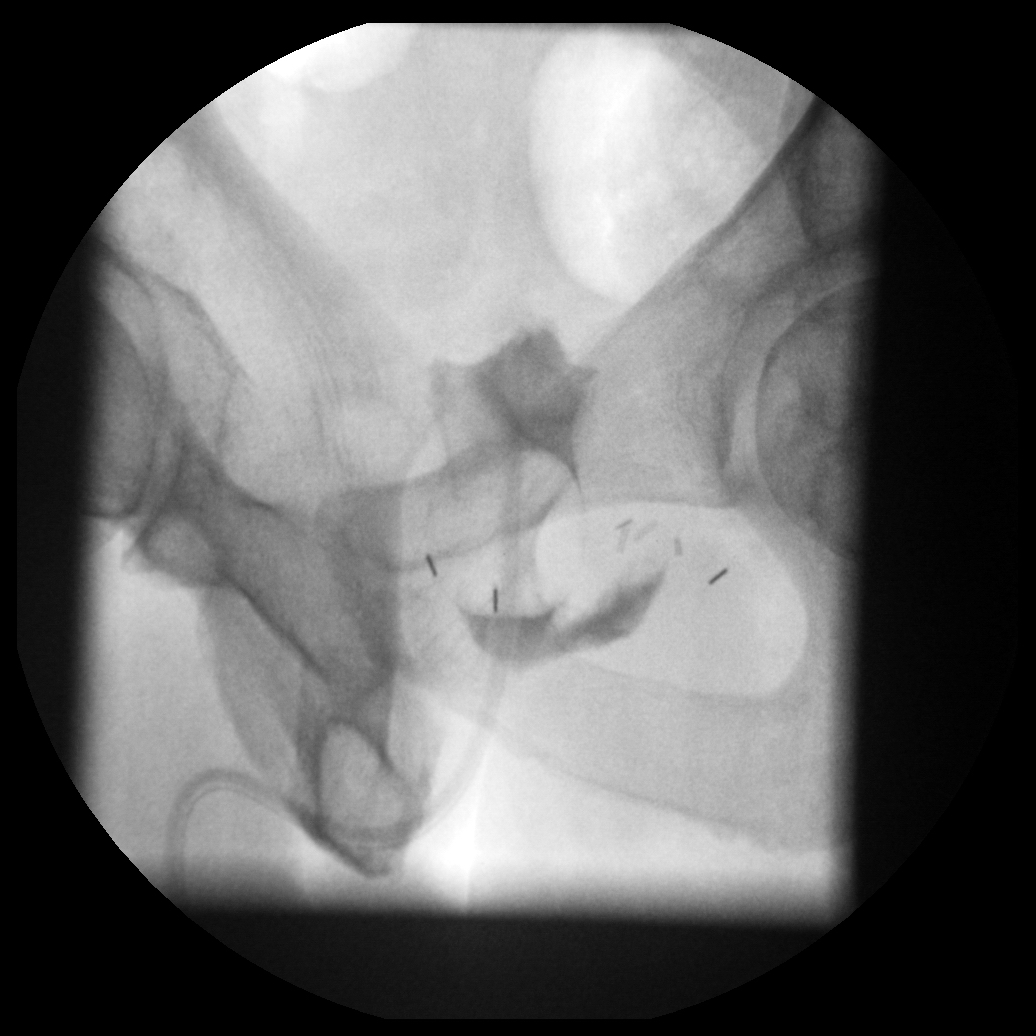
Lateral film of the bladder. Try to avoid image quality like this. A left lateral filter should be used to improve image quality.
The amount of contrast medium required to adequately opacify the bladder will vary depending on the indication. It is important to inflate the bladder enough to ensure reasonable pressure within (can be 150-200ml). However a limiting factor may be when the patient starts to experience discomfort, at this point stop. Reflux into the ureters usually indicates reasonable pressure within the bladder has been achieved, except rarely if there are incompetent VUJ’s. Some of the urology consultants may specify on the request that they do not want more than a certain volume instilled (e.g. 70 ml following a bladder reconstruction) which will also guide you to the volume needed. If you are unsure please ask before starting the study.
To finish aspirate the contrast medium from the bladder
Take an exposure post drainage – often a small leak may only be seen on this image. This image will also help distinguish true leak from post operative bladder wall irregularity or a focal abnormality such as a bladder diverticulum.
Ensure all catheters previously clamped have been unclamped and reconnect to the urine bag, the tip of which should have been kept sterile, or use a new catheter bag.
Label all your images prior to being sent to PACS.
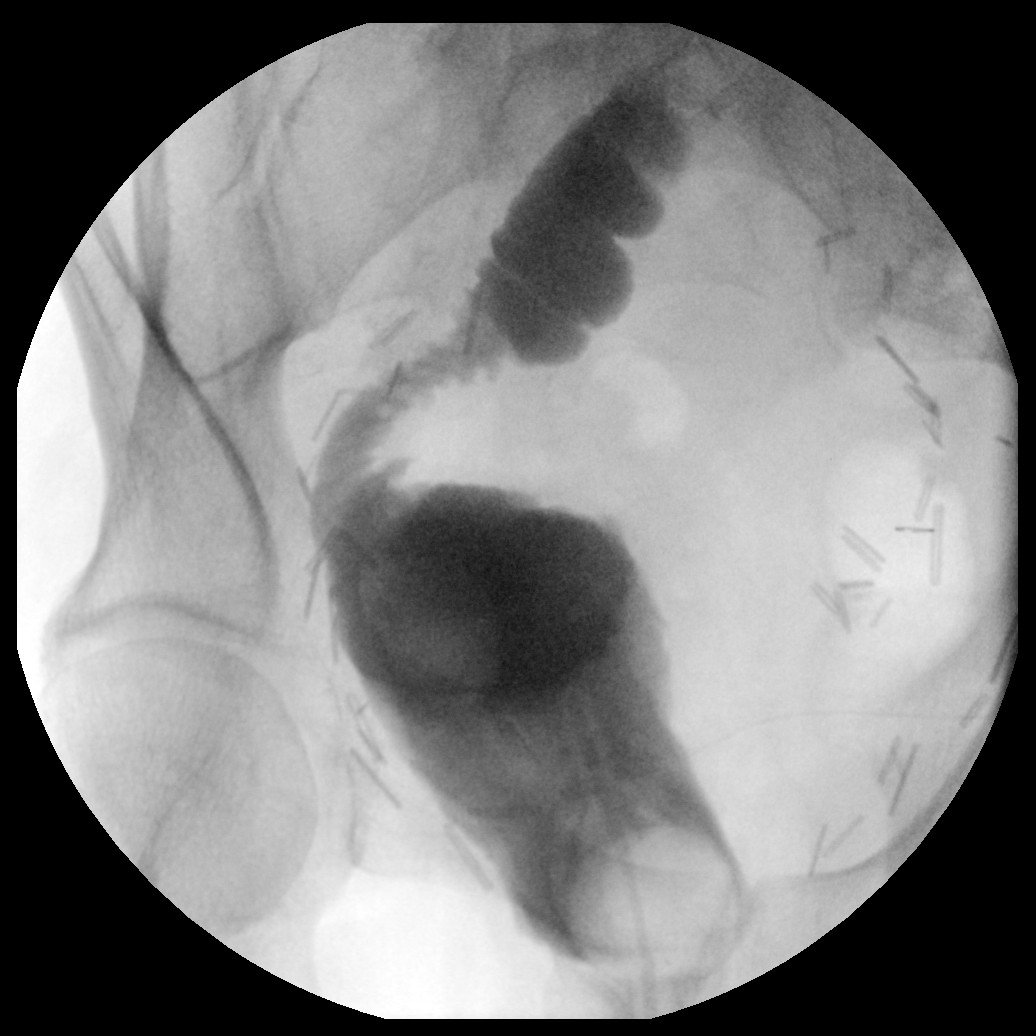
Example of a leak
Post radical prostatectomy. AP view demonstrating leak at the left cystourethral
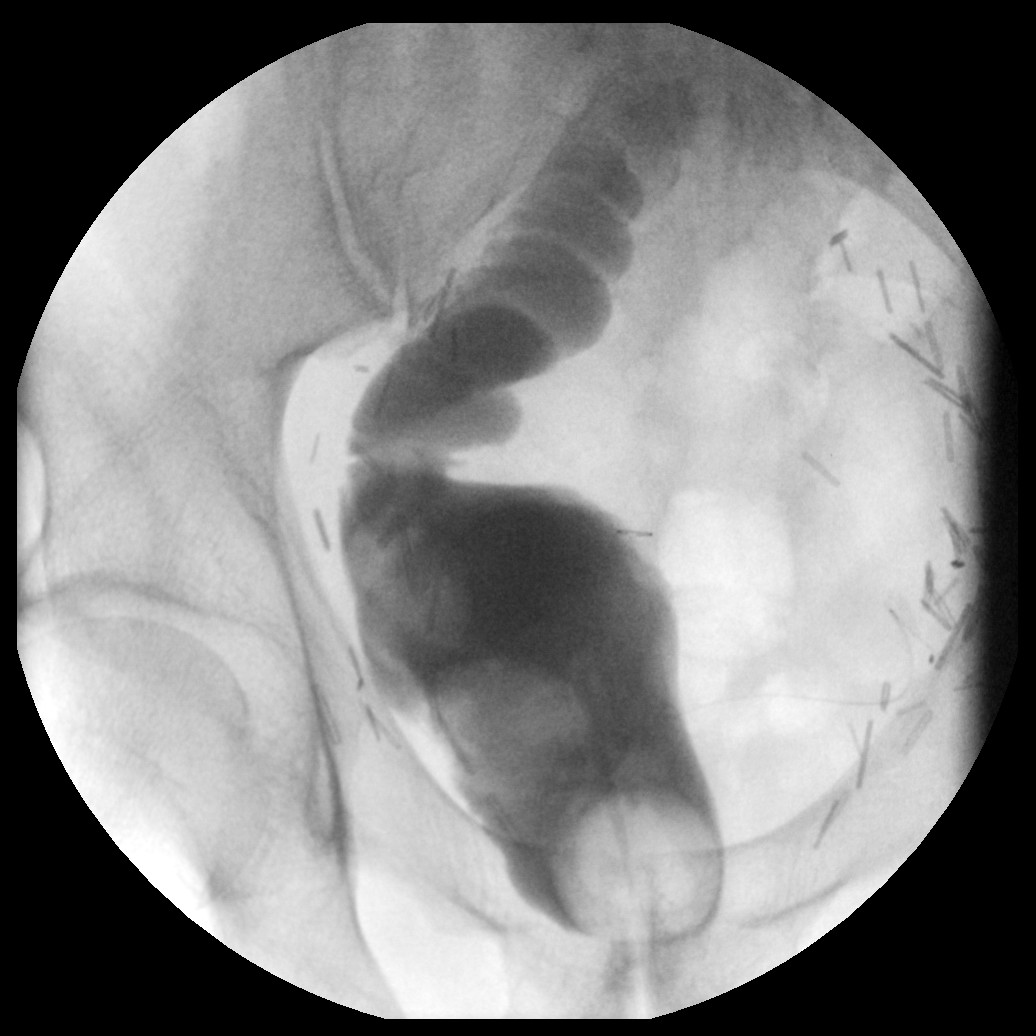
Anastomosis. Craniocaudal tilt will lift the bladder base up from the pubic symphysis.
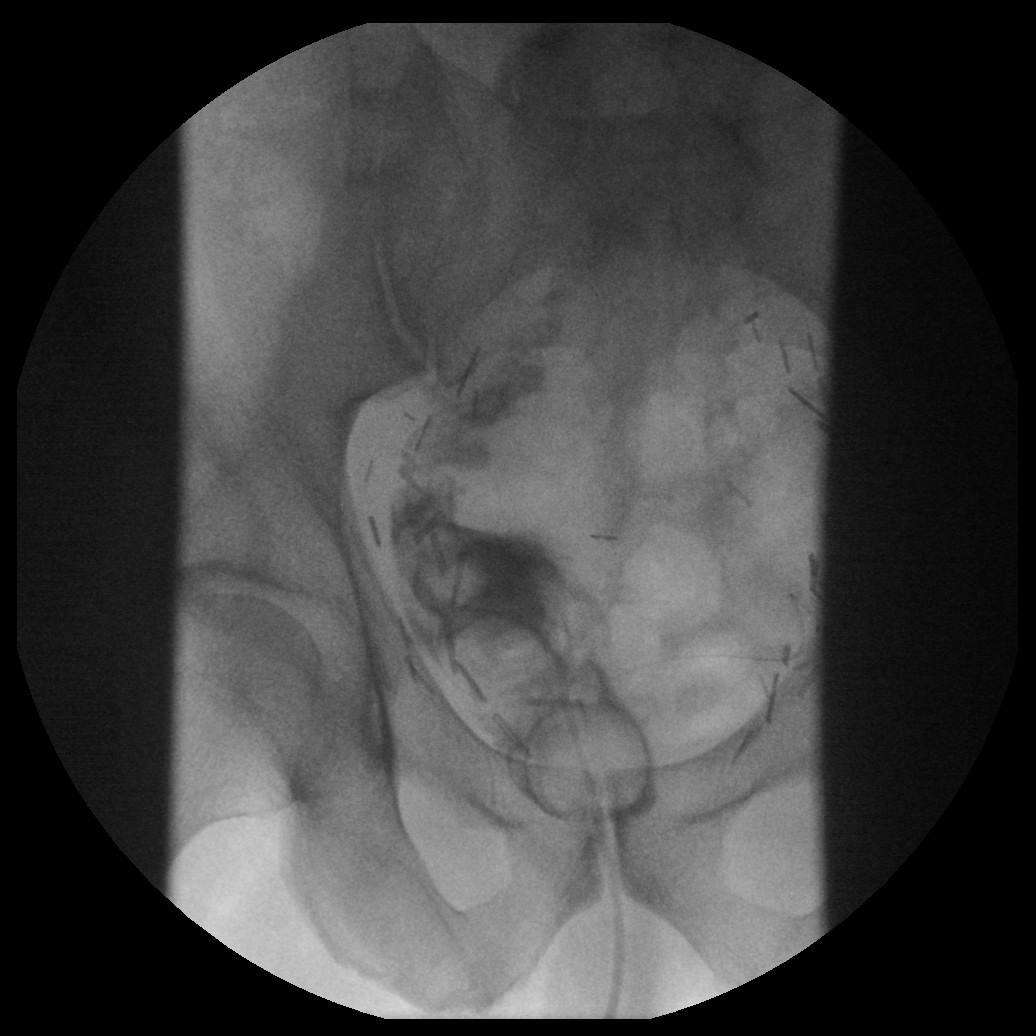
Post-radical prostatectomy. AP view post aspiration of contrast medium
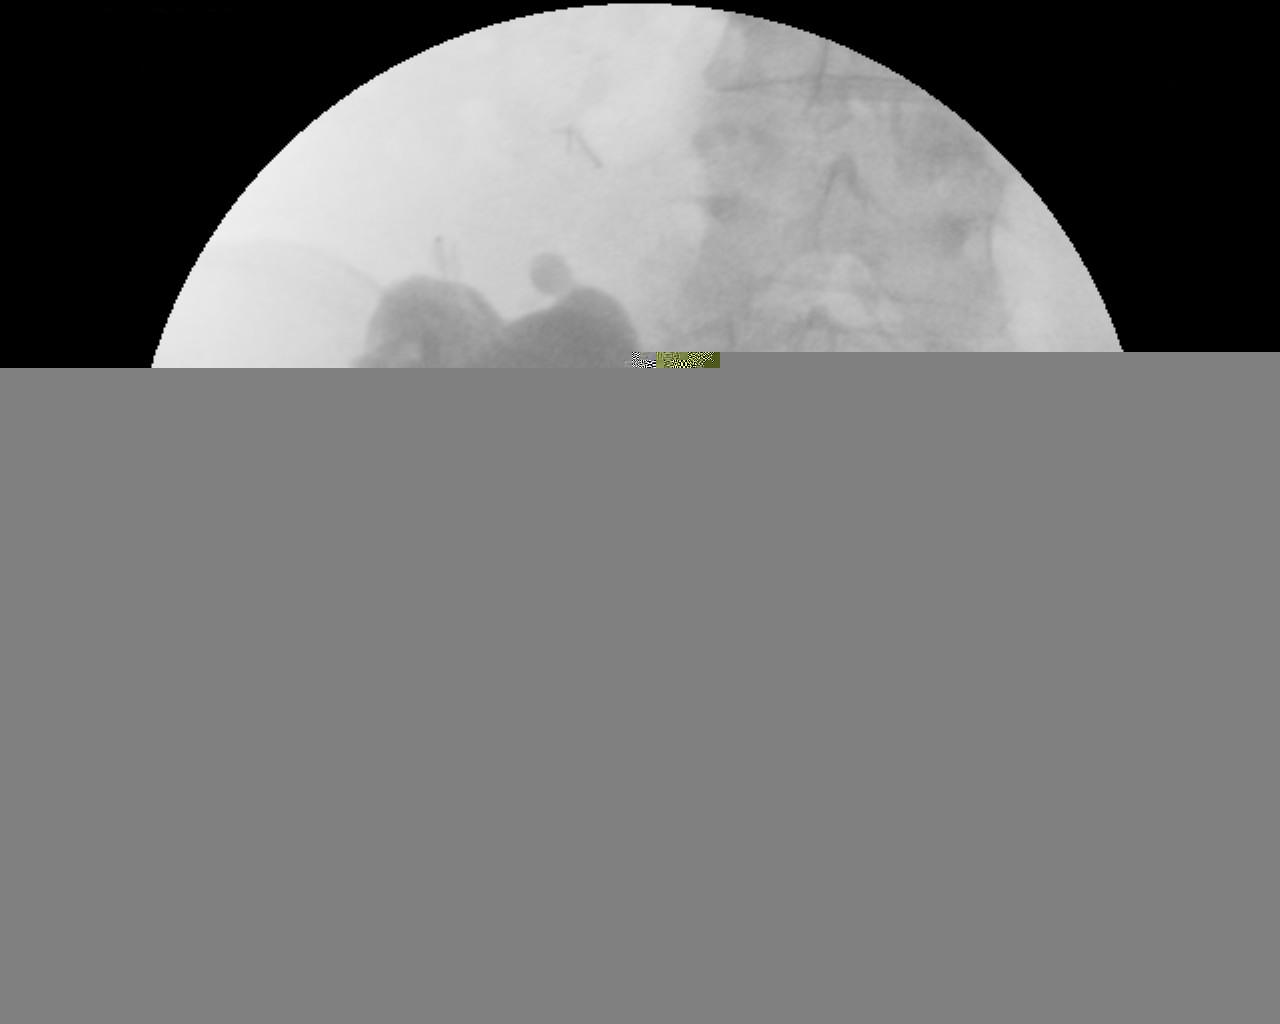
confirming leak at the left cystourethral anastamosis

Bad technique to avoid
Poor magnification. No conning so poor contrast resolution.
Poor magnification and centreing
Imaging the Bladder Substitute
There are situations where you will need to perform a cystogram where there has been a cystectomy with neobladder formation.
Neobladder formation requires post operative imaging to look for leaks prior to the bladder being used.
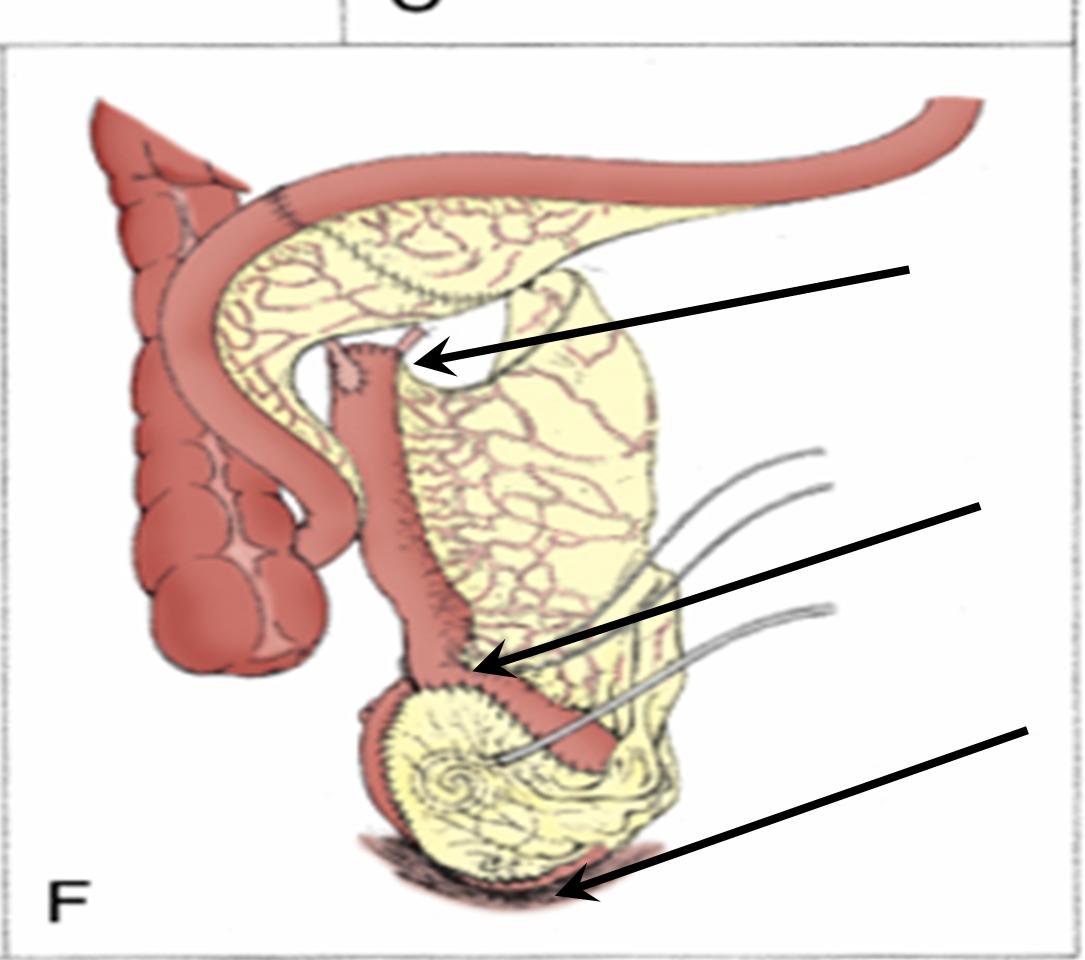
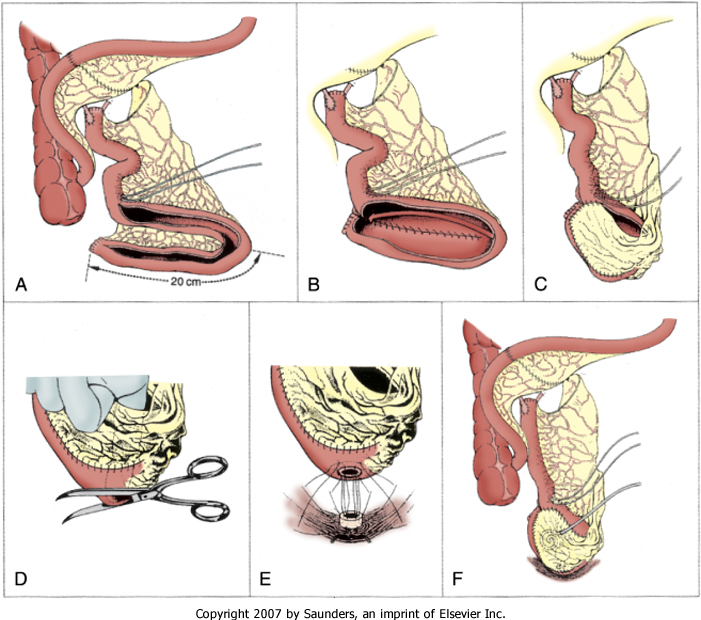
Below are illustrations demonstrating the formation of an ileal bladder substitute.
Imaging post op is usually in two stages. Stage 1 is a stentogram as for a conduit (see stentogram) Stage 2 is then a cystogram.
This bladder substitute can leak at several sites (see image F above)
the uretero-ileal anastomosis (top arrow image F imaged at stage 1)
the ileoileal anastomosis (middle arrow image F imaged at stage 2)
the ileourethral anastomosis (bottom arrow image F imaged at stage 2)
There are usually 2 catheters present, a urethral and suprapubic, one of which should be clamped whilst performing the cystogram.
The Urology Consultant may have given a guide as to how much contrast they would like injecting. Once contrast has distended the reservoir and ilieal portion of the neo bladder sufficient contrast has been injected usually 70 – 100ml but can be much less. It is not necessary to reflux into the ureters as a stentogram will usually have already been performed.
Post drainage views are essential. If you are unsure if there is a small leak a delayed film post drainage may help.
AP view of the normal neobladder during filling. Poor magnification.
Oblique view of the normal neobladder. Good magnification. Note that both the urethral and suprapubic catheter balloons are now visible
Subsequent image showing further distension. No leak seen
Post drainage view. Not all the contrast will be drained.
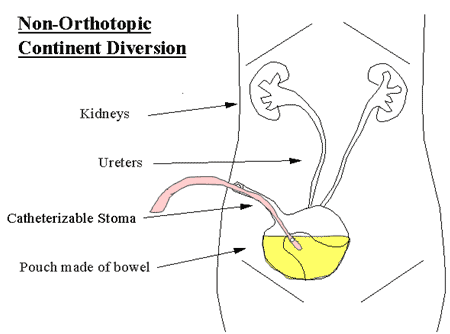
There are occasions where the neobladder is not attached to the urethra but diverted through the anterior abdominal wall. Thus producing a continent reservoir with a catheterisable stoma called a Mitrofanoff.
This is imaged similarly in 2 stages. Stage 1, an initial stentogram to check ureteric integrity. Then stage 2 to check reservoir integrity. A catheter will already be in the reservoir via the Mitrofanoff. The images of this reservoir can be difficult to interpret but in simple terms you are looking to outline a structure that has a bowel like appearance, that doesn’t leak and empties.
AP view of a continent reservoir. Poor coning and hence poor contrast resolution.
Magnified AP view of the continent reservoir. There are two catheter balloons visible, 1 through the stoma and a second direct into the reservoir.