

Indication
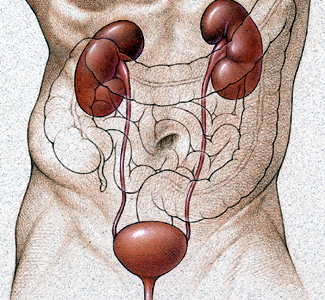
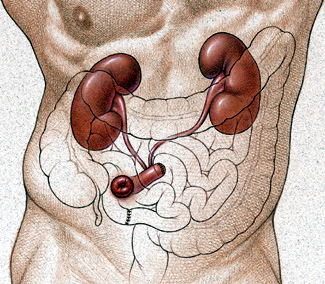
The formation of an ileal conduit is performed in the majority of cases for the surgical treatment of a bladder cancer. The bladder is removed and a segment of ileum is used to form a stoma to which both ureters are anastomosed.
During the surgery, a stent will be placed in each ureter – the stent usually has its proximal end in the renal pelvis and runs distally across the ureteric-ileal anastomosis and externally, passing through the stoma
The aim of this examination is to determine if there is a leak from the ureteric-ileal anastomosis. If no leak is identified then the urologist will then go on to remove the stents, as in theory adequate healing at this site has occurred.
Before Surgery with Ileal Conduit
Equipment
Sterile pack, chlorhexadine, sterile green drape (with hole), red ureteric stent connector, 20ml syringes x 2, saline, contrast (niopam).
Procedure
This is a sterile procedure. Warn of risk of infection. The patient should have pre-procedure antibiotics on the ward.
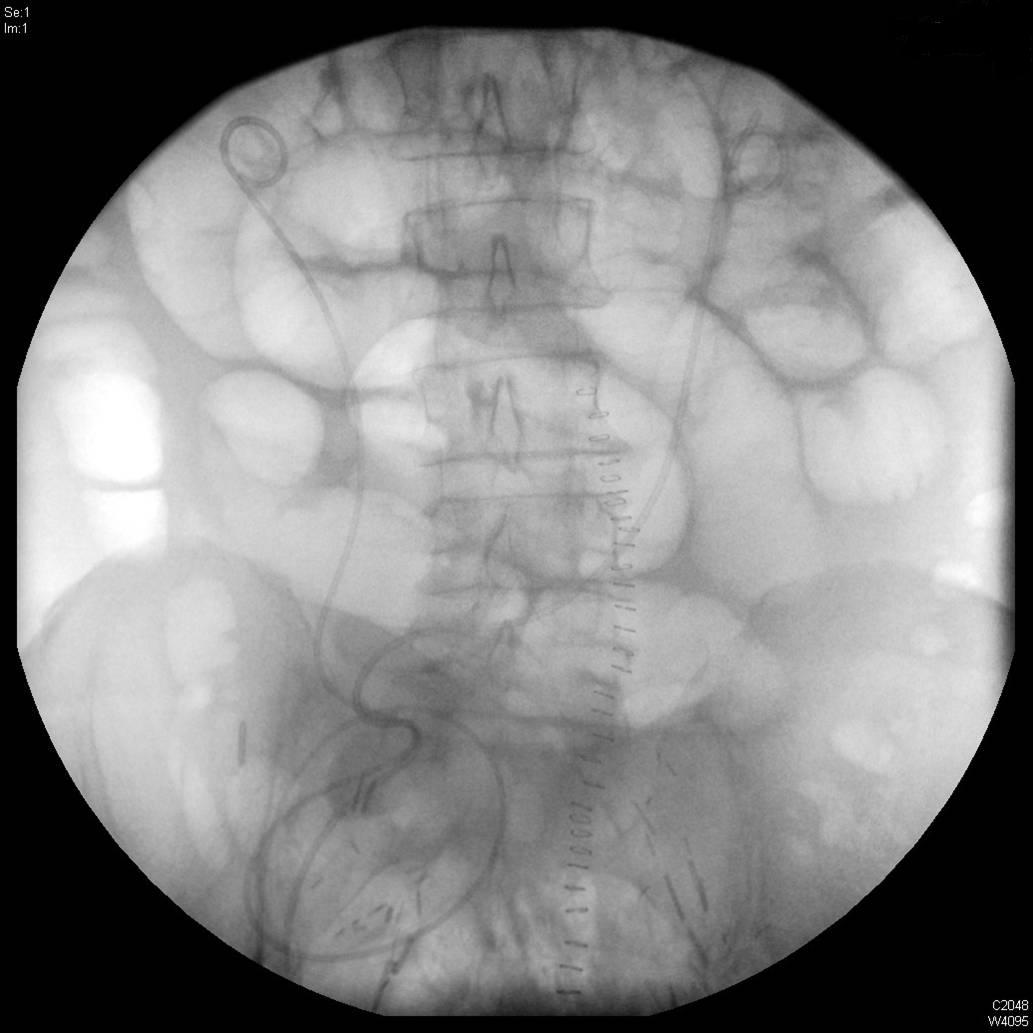
Have the patient supine on the fluoroscopy table with the image intensifier (II) above the patient – take the overview control film. Look for stent position in the renal pelvis. Where the stents cross is around their insertion into the conduit.
The overview control film needs to visualise the entire length of both stents.
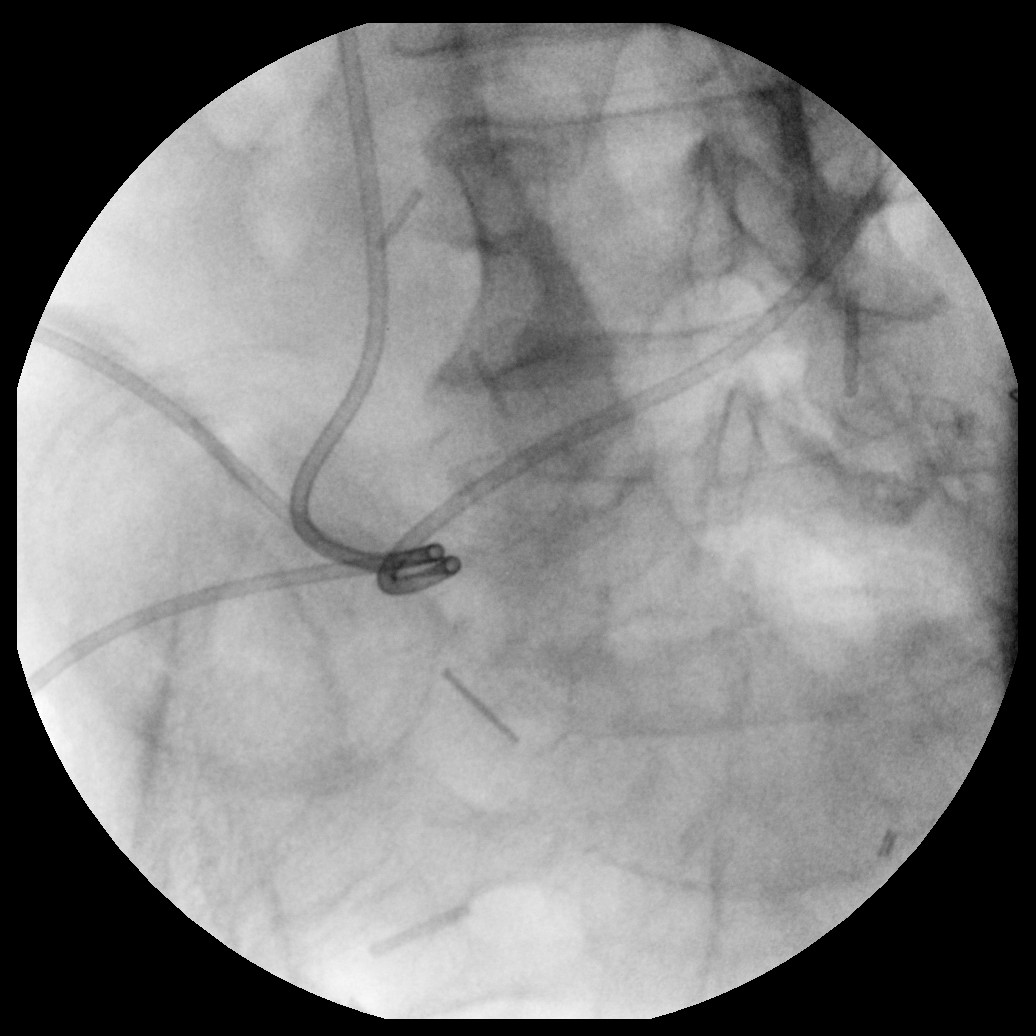
A magnified control view of the stent insertion into the conduit is needed as this is where you will see any leaks.
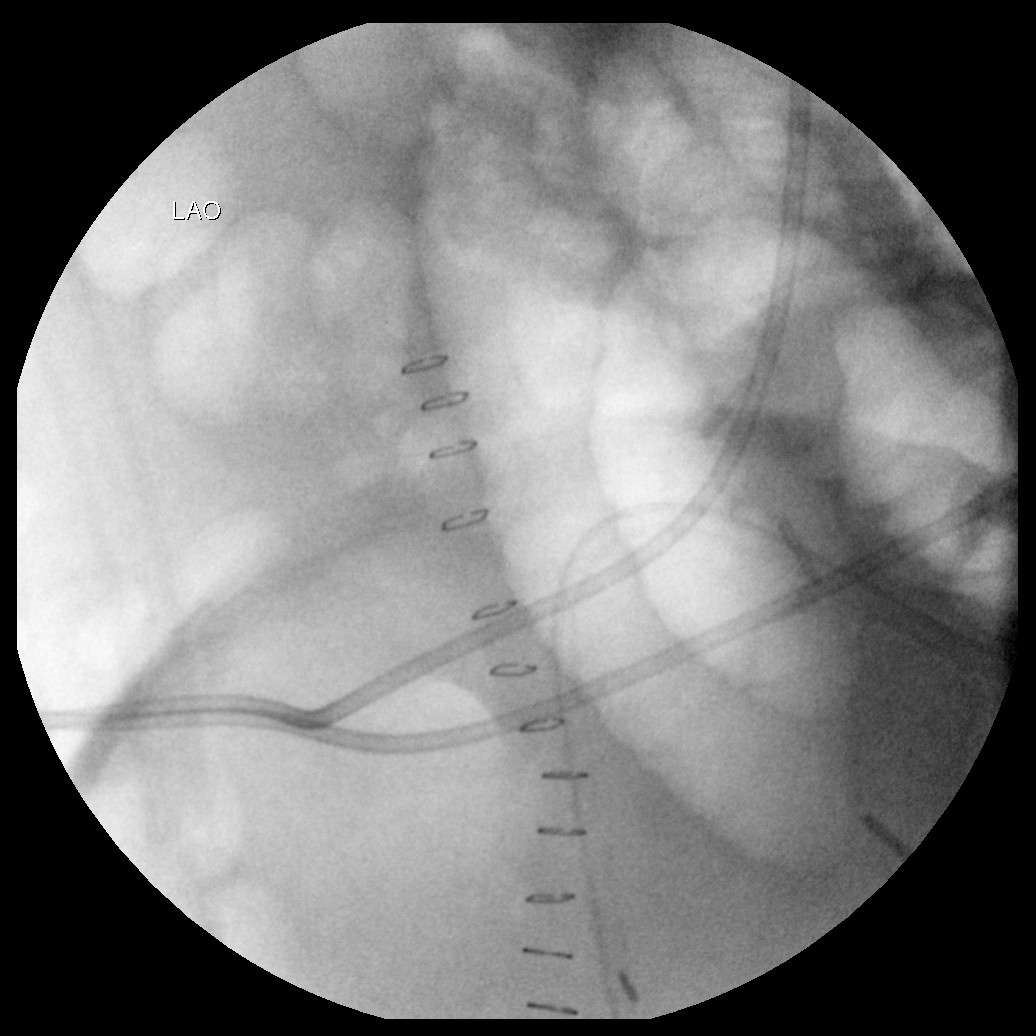
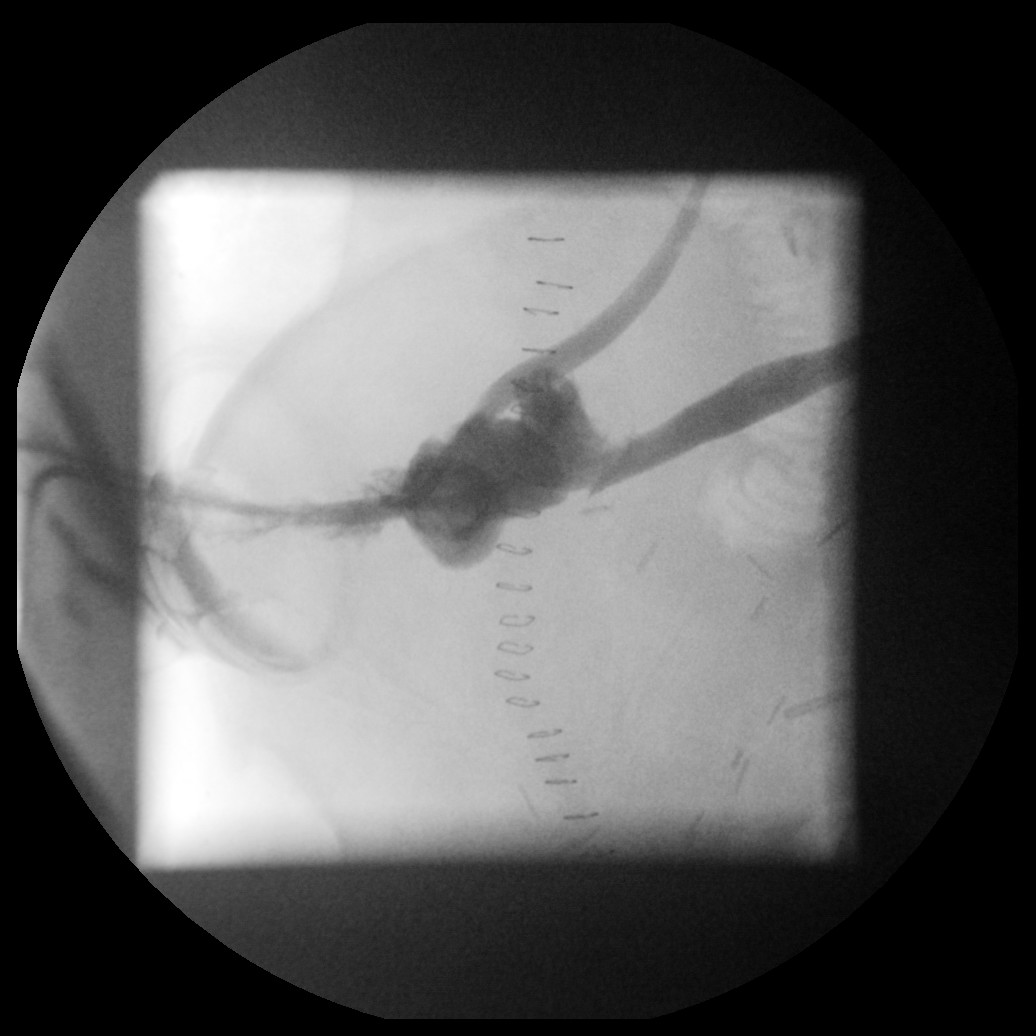
The LAO view is the best for seeing the ureteric insertion into the conduit. There is no specific degree of angulation for this, screen as you go oblique to obtain the control film below
Control film – AP overview
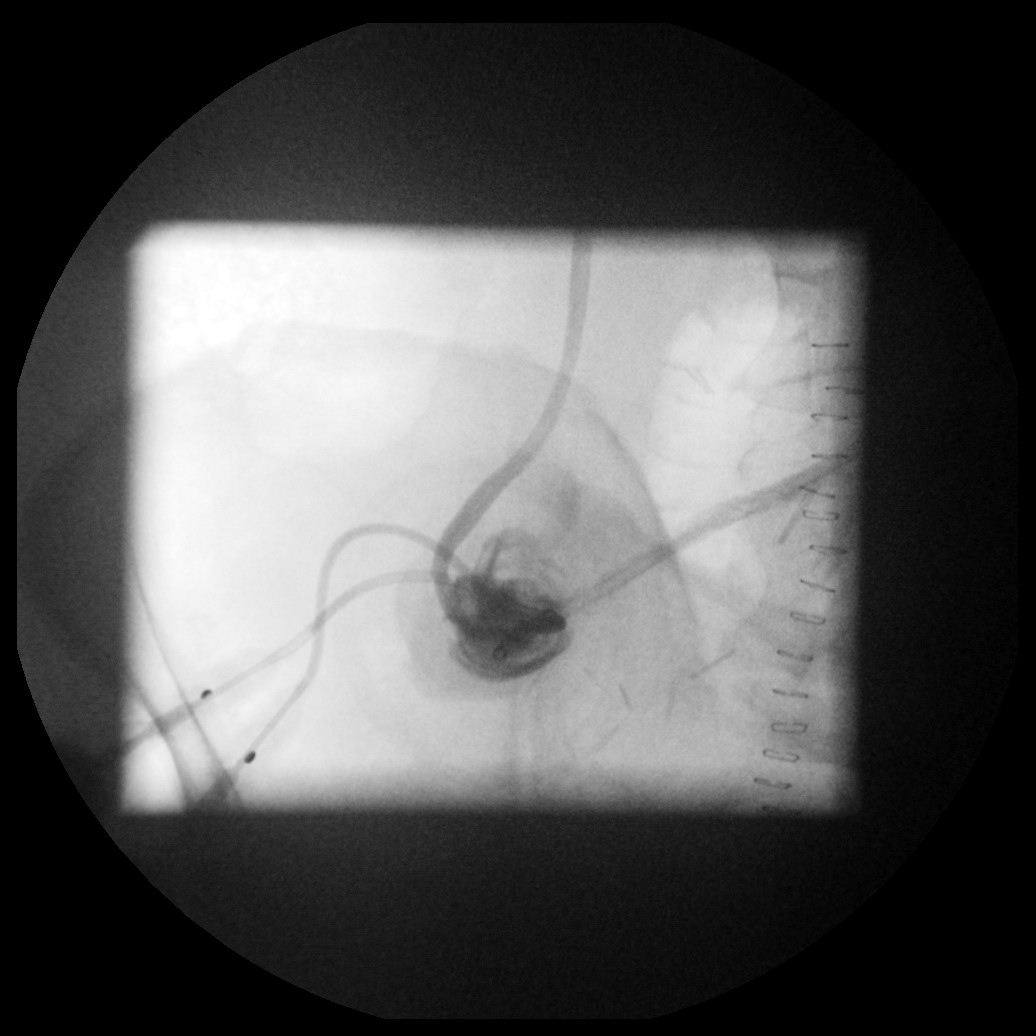
AP Magnified view of where ureters insert into conduit (arrow). Not ideal.
LAO magnified image of the same patient – note as the conduit lies in the AP plane, LAO imaging elongates the stents to provide the best plane for imaging.
Procedure
Empty stoma bag before starting.
If there is a two piece stoma bag remove the top piece, keep sterile and replace after use. If there is a one piece bag only remove if a spare bag is available. If no spare bag is available, make a small slit in the two layers of the bag, when finished tape the slit well and leave an inco sheet around the stoma until the patient can change for a new bag
To gain access to the ends of the stents, remove the stoma bag part from the ring stuck to the patients skin taking care not to pull the stents out
Attach a 20ml syringe of Niopam 300 to one of the stents (this may require the use of the red connector if the syringe and stent ends are not compatible)
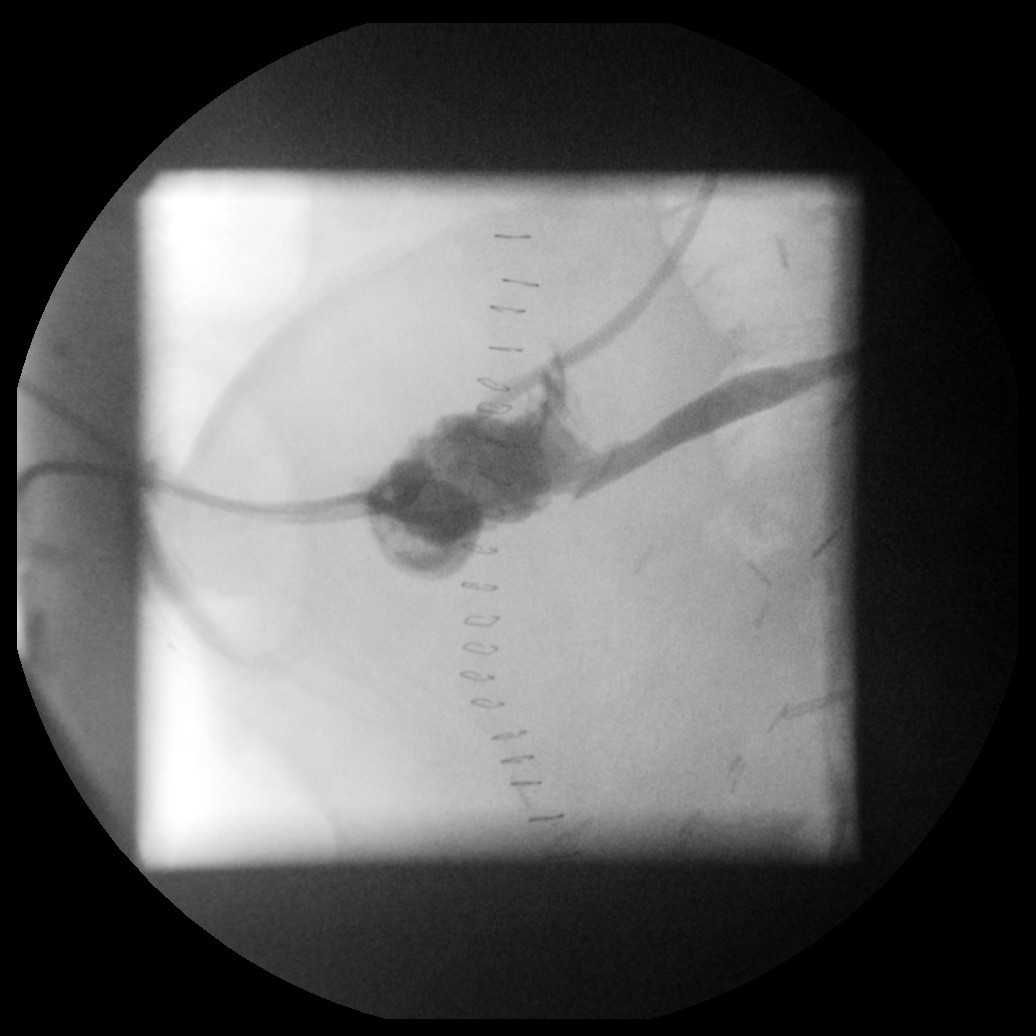
You should already be in the magnified oblique position, continue to image over the site of the ureteric anastomosis using the LAO plane. Slowly inject more contrast under fluoroscopic control and take exposures as necessary. Remember early pictures are usually the best. The best way to opacify the anastomosis well is by small boluses of contrast rather than a slow continuous stream. Do not use high pressure to damage the anastomoses or the renal collecting system.
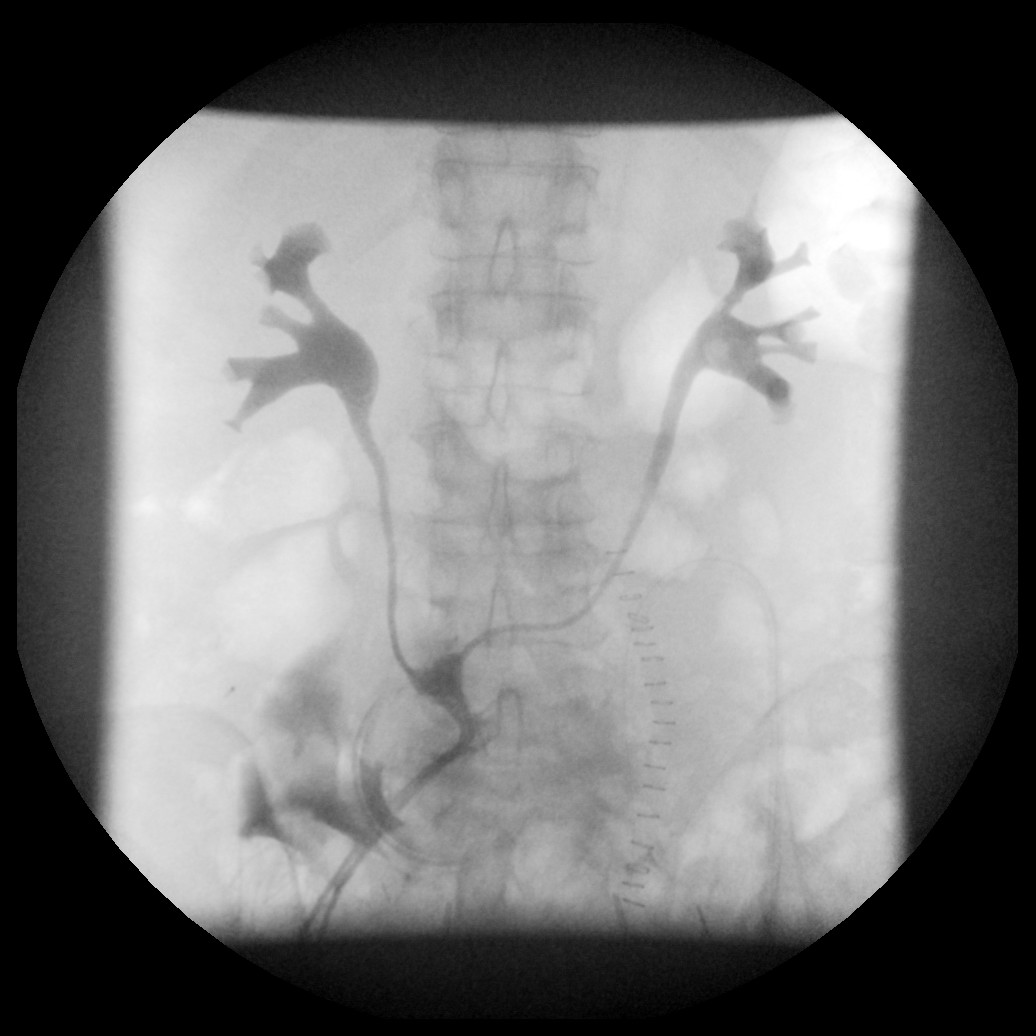
Opacification of the L ureter and conduit
Having repeated the same procedure for the other stent, both R and L ureters are now opacified
You may notice that contrast can reflux up the other stent e.g. when injecting the right stent, the lower end of both stents opacify. This is not a problem so long as you know which side you are injecting.
Imaging in the AP plane at the ureteric anastomosis is rarely helpful as there is superimposition of structures.
Similarly RAO imaging has similar problems and also the stoma bag will come into view
However in some rare occasions and AP or RAO image may be helpful.
Do not be afraid to try various views including craniocaudal tilt until you obtain the best view.
AP imaging of conduit – note superimposition compared to previous LAO images
Usually imaging the ureteric anastomosis takes approximately 10-20mls of Niopam
If you are unsure if there is a small subtle leak then a delayed image after drainage has occurred may help
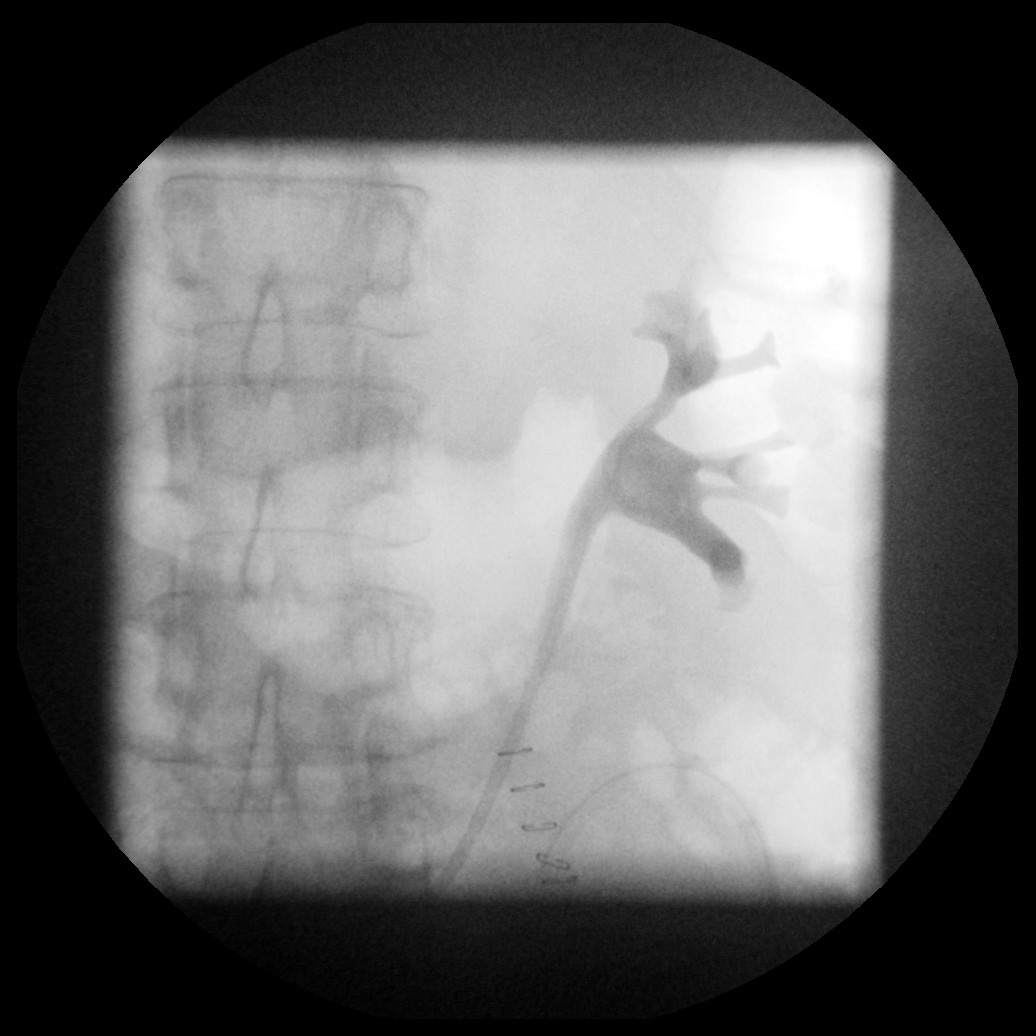
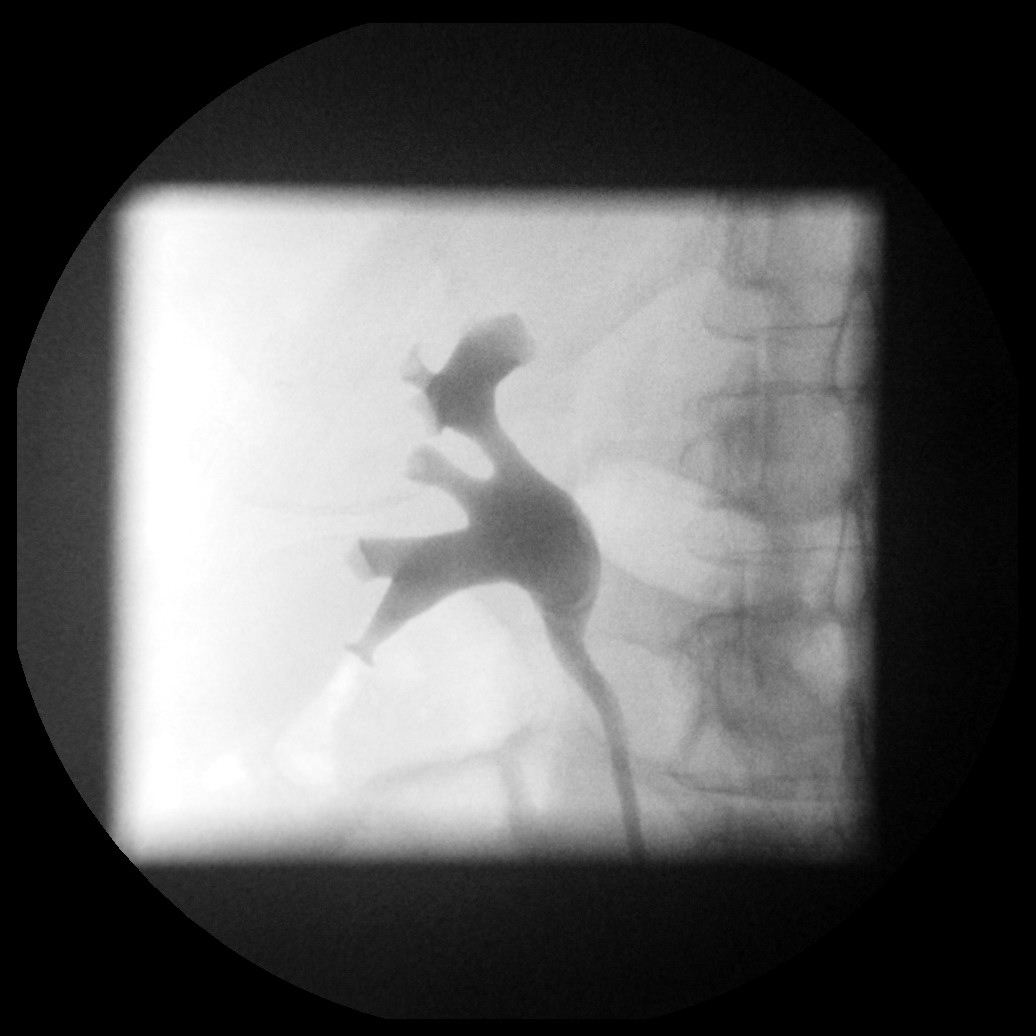
Both renal pelves also need imaging to ensure that there is no significant upper tract hydronephrosis. Mild distension is expected. This can be done at any stage during the study. Either when identifying which stent is being used or after imaging the relevant ureteric anastomosis. This can be either a magnified view of each kidney or an overview of both – a frame grab is adequate here to keep radiation dose to a minimum.
Magnified views of each kidney
Overview of both kidneys
Note that if you inject a lot of contrast medium, then you can make a normal renal pelvis look hydronephrotic. Also don’t spend lots of time looking at the renal pelvis whilst contrast is flowing through the ureteric anastomosis as when you come to look at this region, contrast may be everywhere! Therefore concentrate on the uretero-ileal anastomosis first.
If the patient experiences pain when injecting, stop and try to see why e.g. leak, over distension of PC system. You can try to aspirate and inject again slowly if you haven’t managed to complete your images.
Take a final AP film at the end post aspiration to check the stent position.
Once the study is complete attempt to aspirate from both stents, you may not get anything out though.
Remove the green drape and carefully replace the stoma bag to contain the two ends of the ureteric stents as you found it.
You MUST label your images (Control, LAO, R stent, L stent) and send the relevant images to PACS.
Make sure it is coded as a loopogram FLOOU .
Hints and Tips
Remember pre-procedure antibiotics and sterility
Cover the entire stent with control film
Inject slowly to start and take early images
Know which side you are injecting and label afterwards
LAO magnified imaging for ureteric anastomosis, normally 2x will suffice